For our Women’s Weekend Away event, we decided that we wanted a cross to have at our chapel sessions. So I decided that I would make one from spare rough cut 2 x 4s that we had.
It didn’t really take that long after I started. I just needed to get the right ratios to get the right length for the arms compared to the main body. I’m really glad I got to work with some real 2 x 4s for this. It’s always slightly annoying that a regular 2 x 4 aren’t actually 2 inches by 4 inches. It just makes remembering measurements and splitting distances easier.
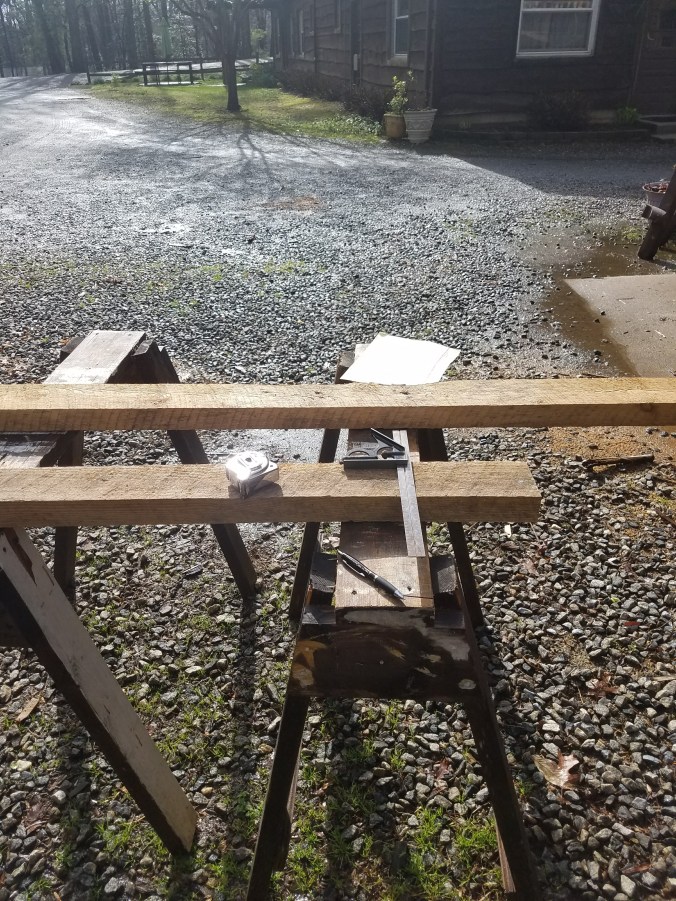
After I got the main sections cut, I cut some notches into the wood so that they would fit together flush. A really simple process, if you’ve never done it before. Just measure the width of the notch and the cut lines with your circular saw set to the depth you need. Then just clean it out with a chisel and you’re done.


After the first cut, I just wanted to check that the width was alright, so I set the cross section in.

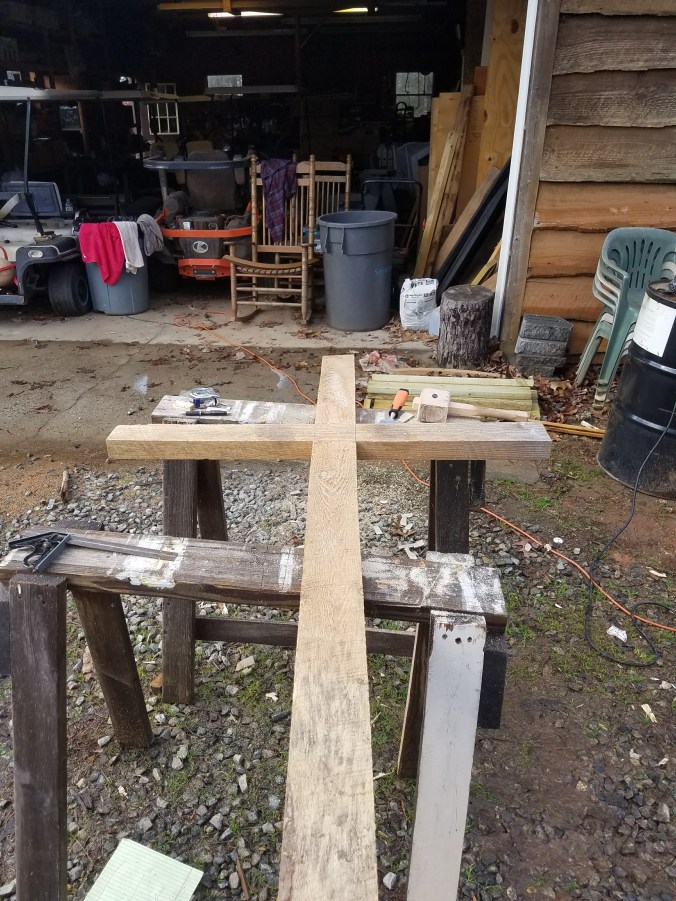
After this, I actually messed up because for whatever reason, I got it into my head that the center was at 20 inches, despite the total length of the arms being 42 inches. So I had to cut another piece and used the first piece that I cut as part of the base so that I didn’t waste anything.
Here’s a picture with the arm being off center by and inch. It’s minor, but still noticeable, especially standing up.
So I cut notches for the base, and then used some other scrap pieces of the 2 x 4s, sanded it up a little, and pressure washed off some stains and sun damage.

