My parents asked me if I could make something for my grandparents 60th anniversary, so for a month or two before the actual date I wracked my brain for something. I went back and forth for a while on what I should make for a long time. I had thought for a while that I should make a sign for the outside of their house that was like the one that they had back at their house in Vermont. I also had thought about burning in an image of their house in Vermont or maybe the surrounding area. I’m not very good at drawing though, so that didn’t really pan out. If I kept drawing things, I’m sure I would improve, but for now it’s just not in my skill set. So, about 3 days before the actual event, I thought about just making a family tree.
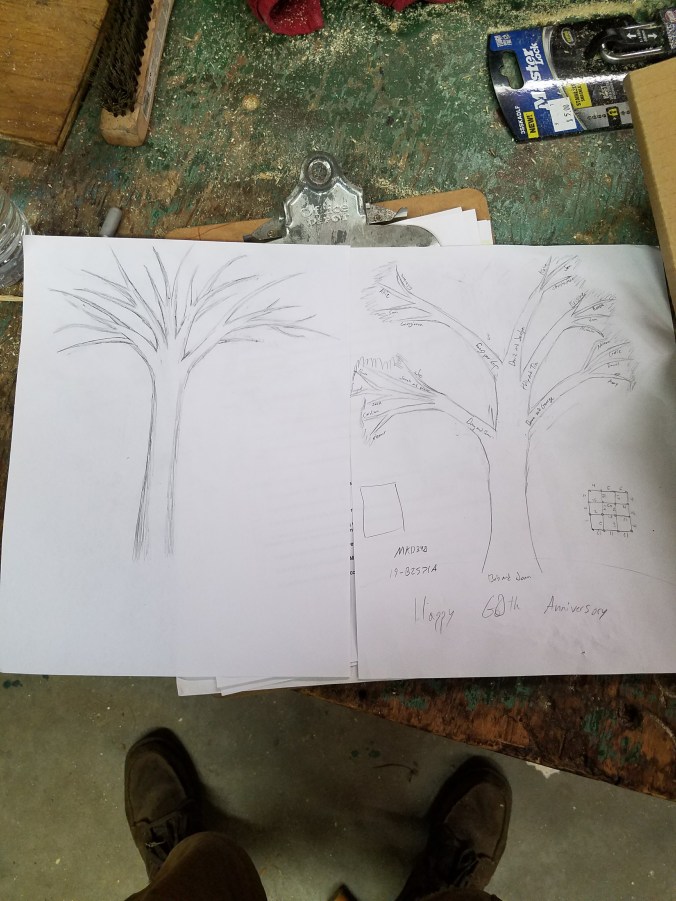
It was one of those things where it’s like 6:30, still at work, and you’re just tired enough that your mind starts to wander so you lose track of the specific task you were just doing and start thinking about anything and everything else. Well, in that moment I realized that a simple family tree was the way to go. So I quick sketched out the idea and sent it to my mom to get some feed back. My first sketch is on the right with some other notes for work, and the one I spent a little time on is on the left, if you couldn’t tell.
Then, I just redrew the tree onto the wood, and began burning it in.


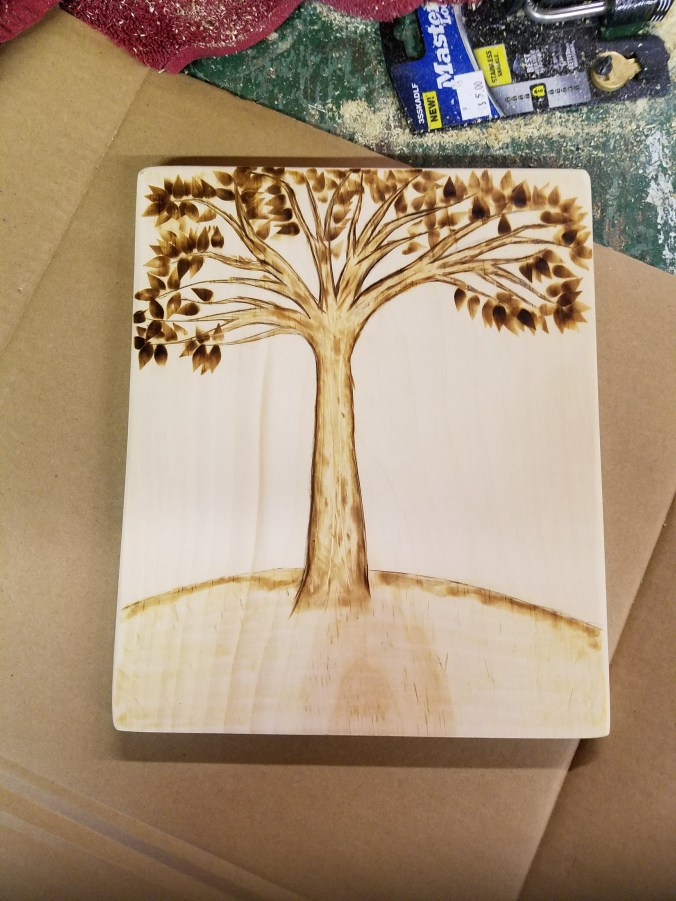
I’m still pretty new to all of this, so I wanted to try doing some shading on the tree instead of just filling it in or leaving it blank like I had done in the past. It turned out alright, I think. I think maybe the contrast to the background isn’t great, but maybe that’s just something else to think about next time.
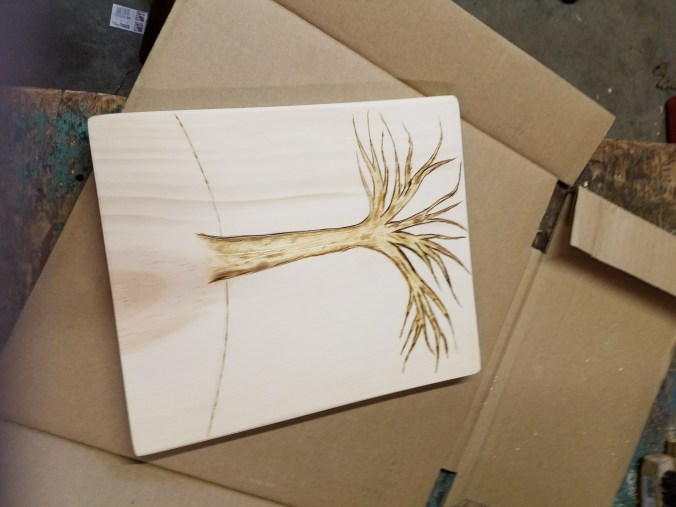
I kind of liked it without leaves, but I don’t think having a barren tree for a family tree is a good idea. It just kind of sends the wrong message, you know?
So now I prepped and transferred over the lettering from a regular piece of copy paper. As I’ve mentioned on some of my projects before, this is a really simple process, if you get the heat right on the burning tool. If you have a laser printer, the toner, which is heat activated, will transfer over when heat is used on it. So you just have to print the text backwards on the page and tape it to the piece of wood.


It isn’t always fool proof though, as it’s tricky to know how hot to go and how long to spend on each letter. Lower tends to be better, I think, because if you have too high it’ll stick, as I found out later on a different project. On this one, most of the lettering came off, and then I just touched it up with a very fine tipped sharpie. That came back to bite me a little bit later when I sealed it though.
Depending on how you use it, I could see not having all of the lettering look pretty nice on the right piece of wood. For instance, it would look pretty nice on an old distressed piece of wood, with like a logo or something.
The solvent in the sealer that I used seemed to bring up the ink from the sharpie, despite being dry. So it smudged in a few spots. I cleaned up most of it, but I think in the future I’ll look at finding a different sealer or just leaving it as it.
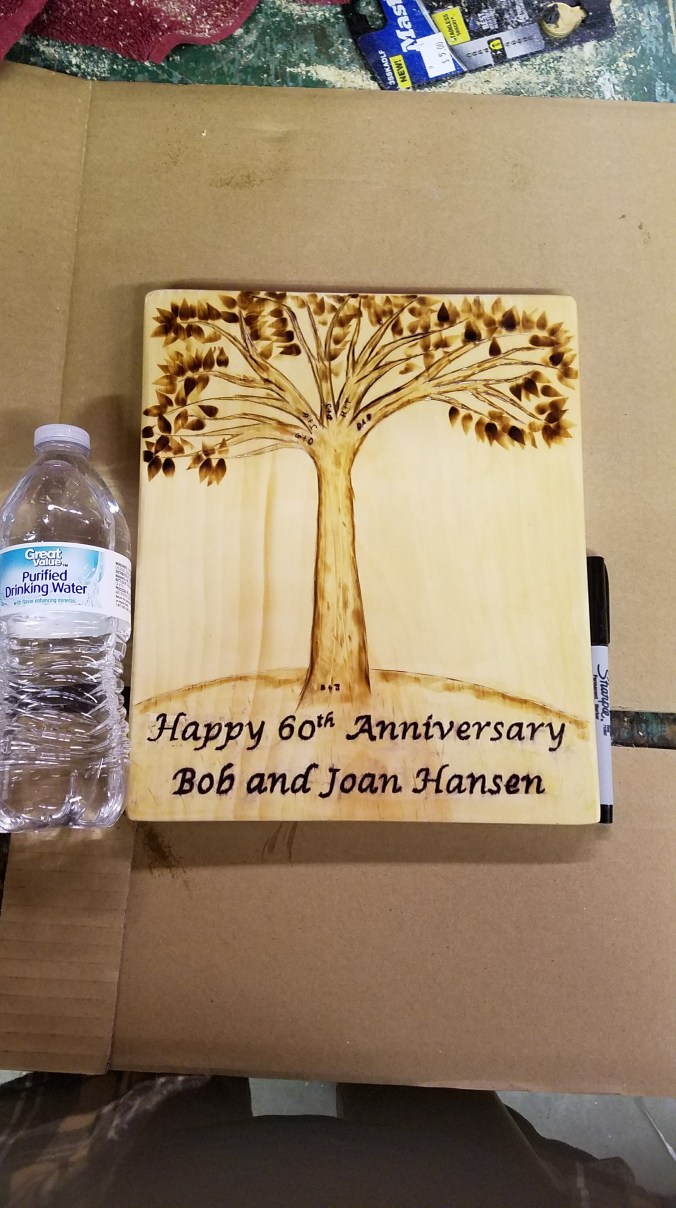
After sealing and drying, this is the finished project.